
Probe Failure
1. Fails to detect the 5-volt probe signal from workpiece within time limit.
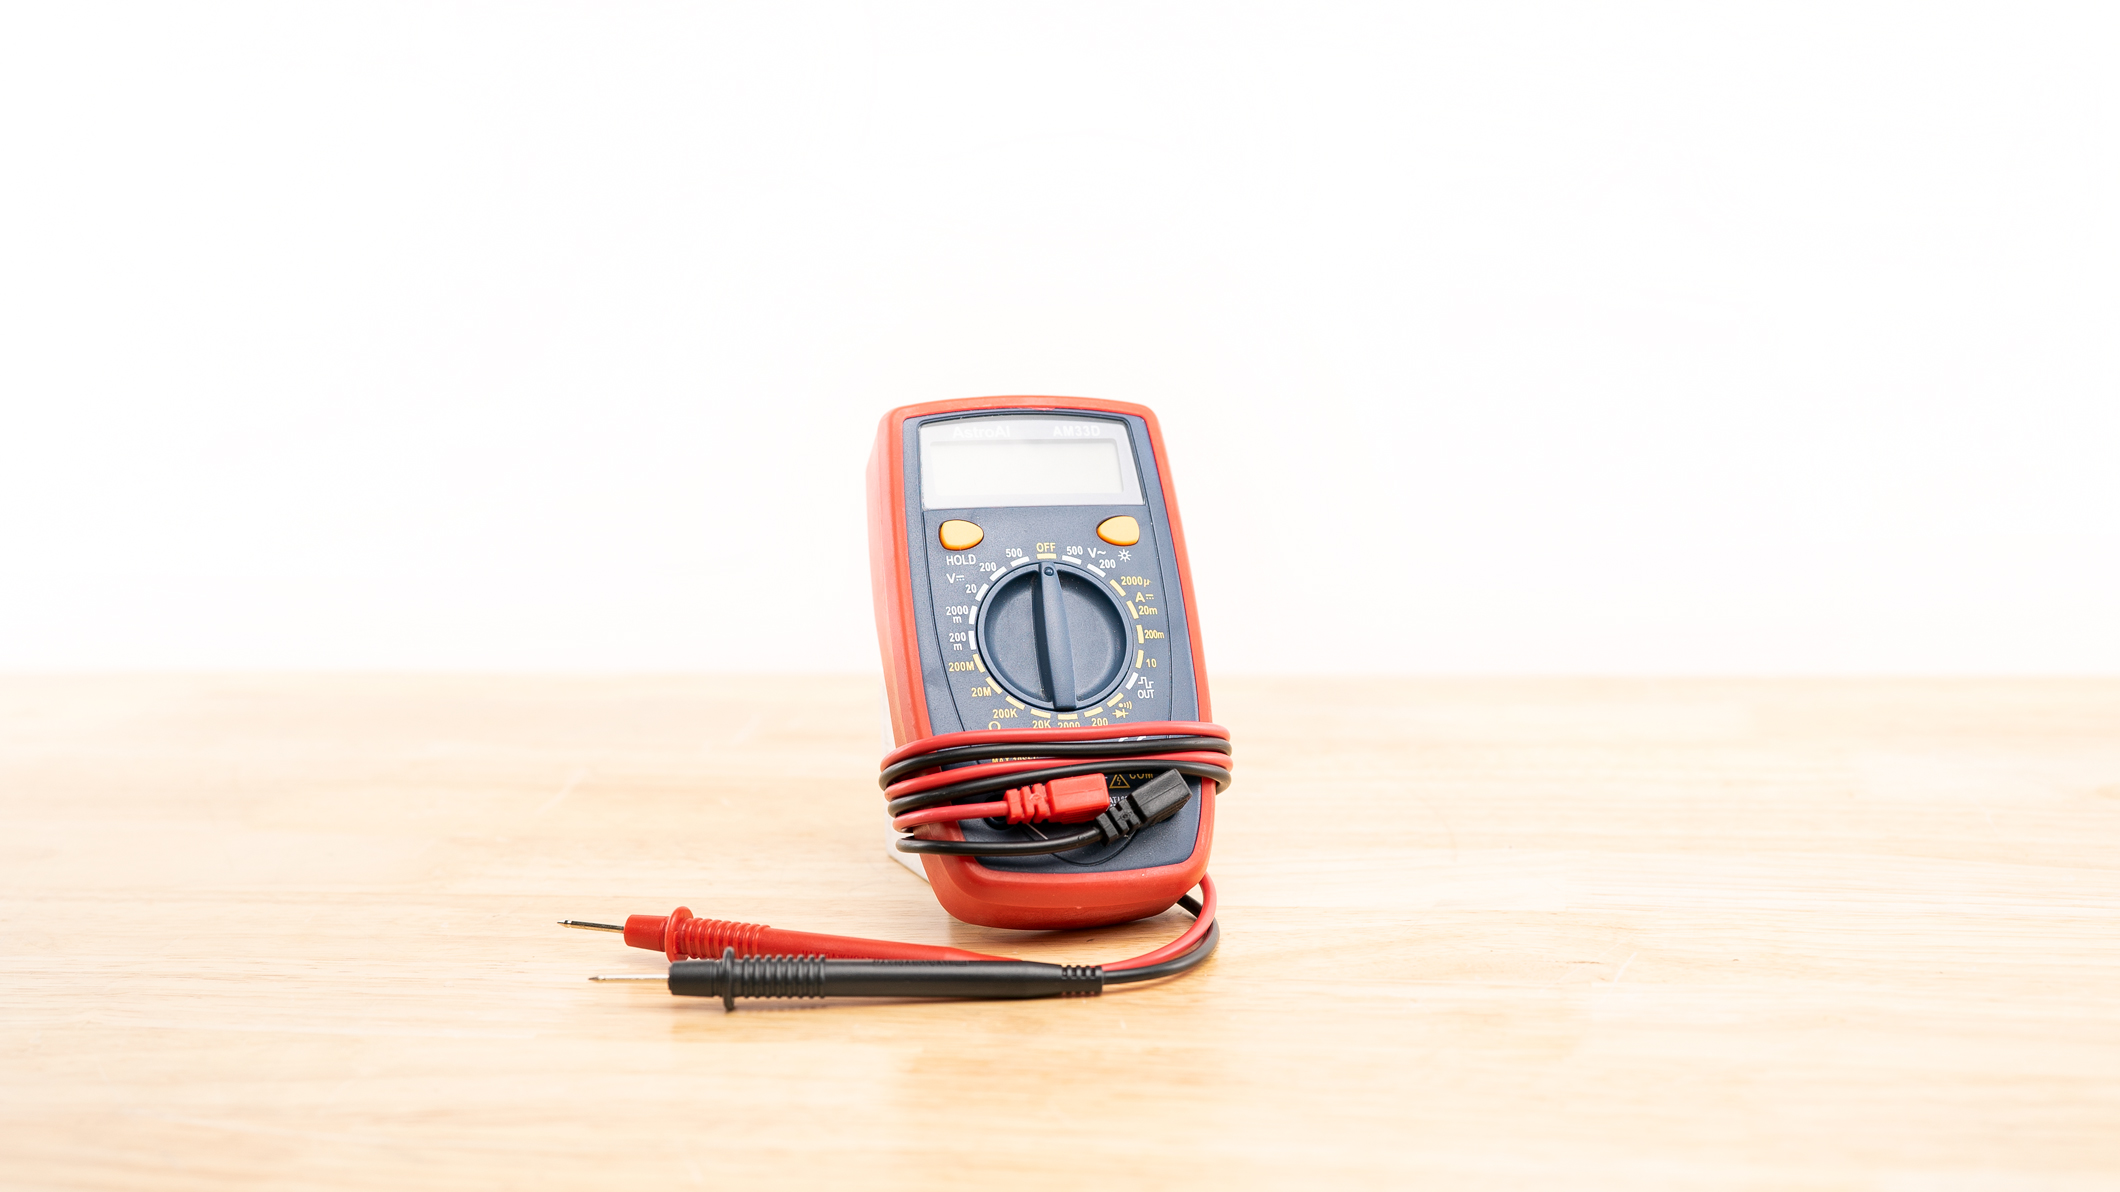
The USB cable connection to your computer powers the Ghost Gunner’s probe circuit with a 5 Volt DC electrical signal. The end mill should barely touch the workpiece during the probing sequence. If the workpiece is not properly connected to the probe wire or shorted to the t-slot platform, the end mill may bore into the workpiece during the probing sequence. Avoid this situation by ensuring that 5 Volts DC is detectable when touching the voltmeter leads between the lower and the spindle.
a. Dial your voltmeter to 20 Volts DC and touch one voltmeter probe to exposed metal on the lower and the other probe to the spindle to verify the 5 volt signal required to locate the workpiece. The probe signal is detectable by the computer if it is between 4.5 and 5.5 Volts DC.
Note | Do not measure voltage from the grip bolt-probe wire connection as detecting 5 volts from the probe wire does not indicate if the lower itself is being charged with the 5 Volt probe signal.
2. The workpiece may be shorted to the t-slot platform.
a. Aluminum chip can cause an electrical short to occur between the workpiece and the t-slot plate so vacuum clean all aluminum chip between steps.
b. Check that jig mounting bolts and washers don’t make contact with the lower. Make sure the trigger guard is not contacting the t-slot plate. Apply tape under the trigger guard if it appears to make contact with the t-slot plate.
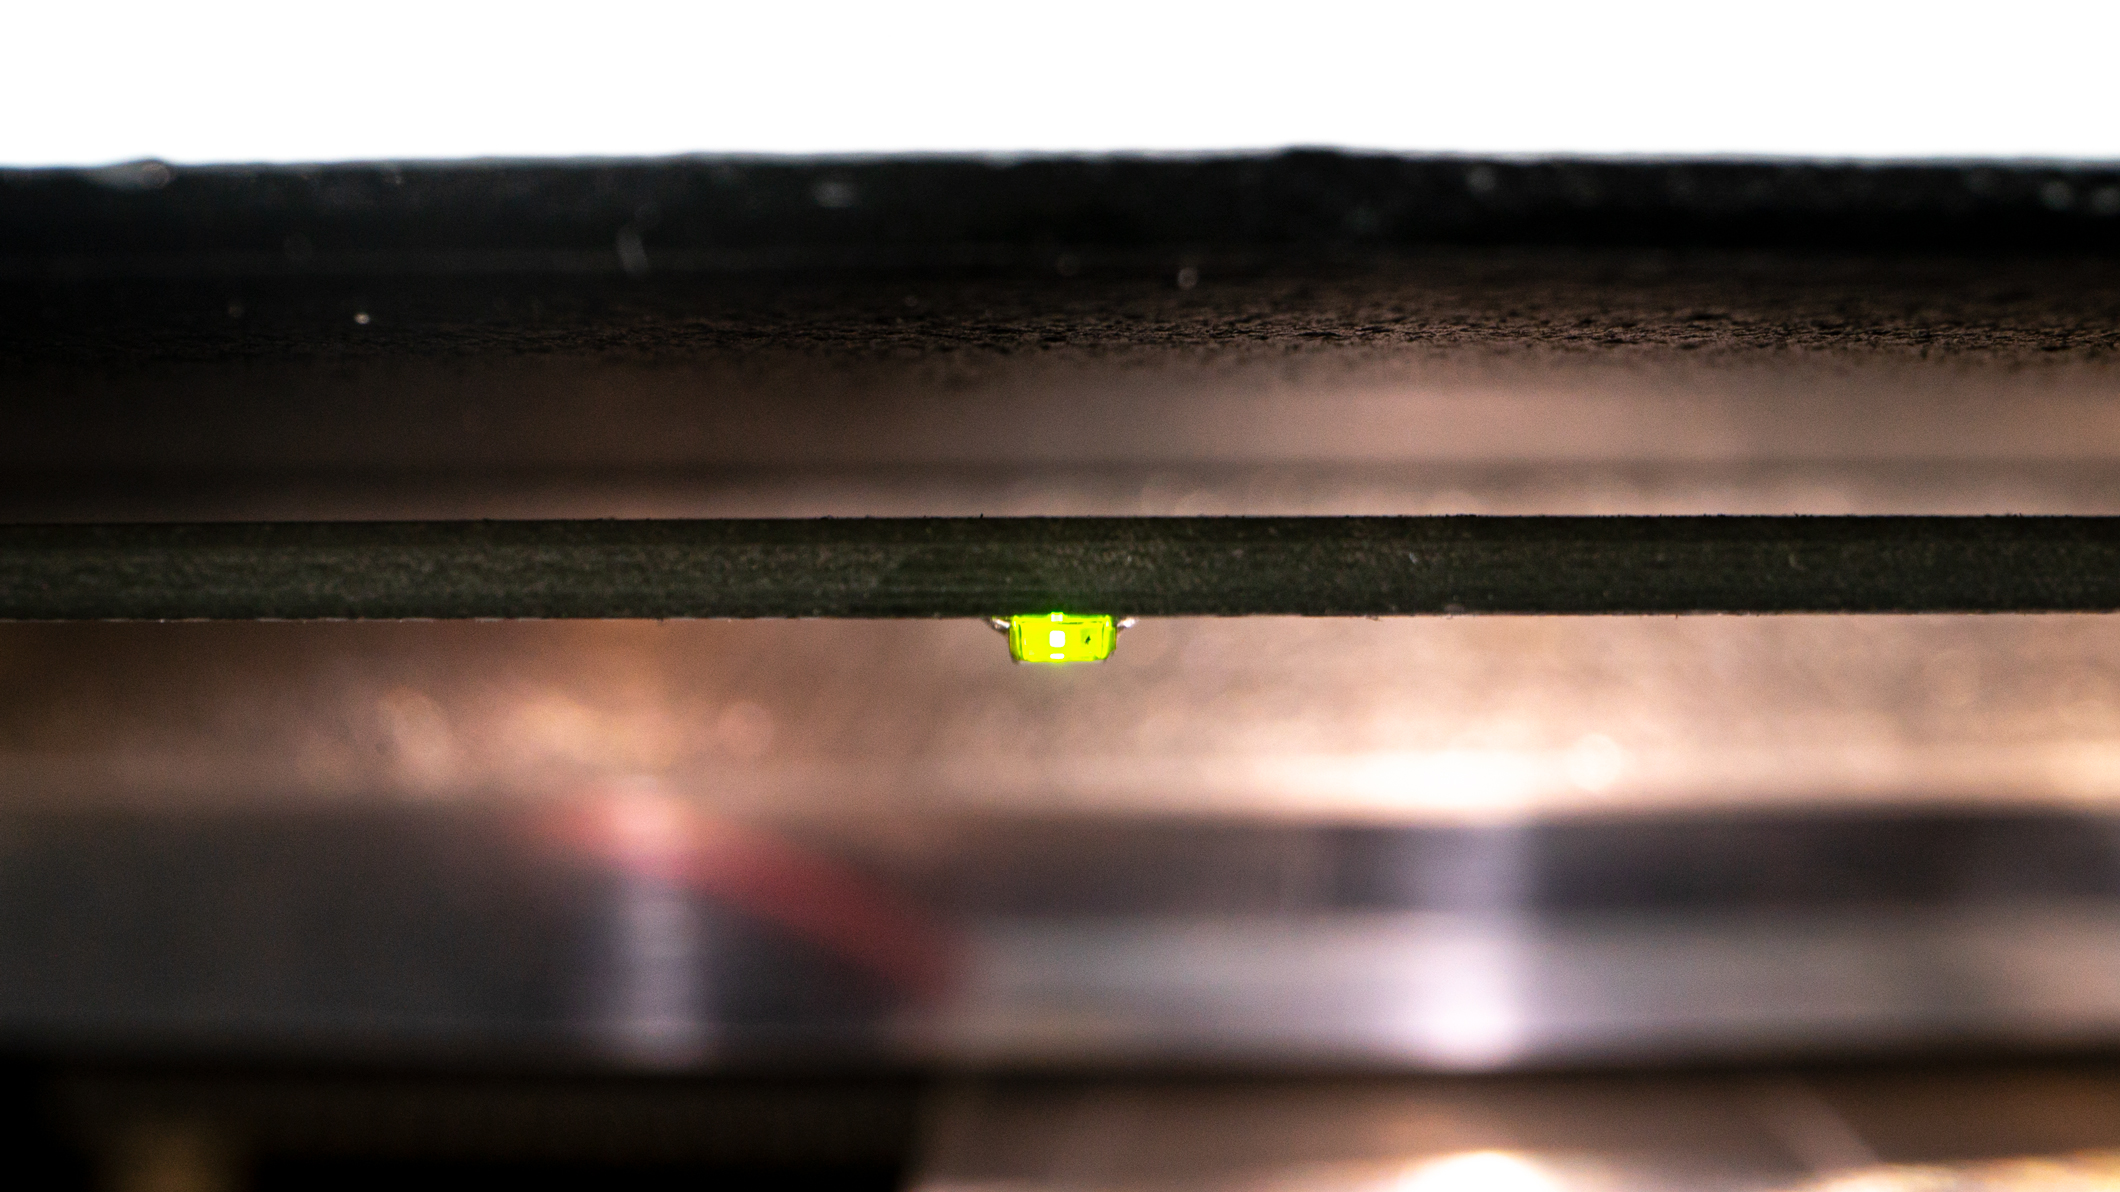
3. The Ghost Gunner 3 is equipped with a green LED light that will turn on whenever the part is shorted to the table, the endmill is making contact with a charged workpiece or if the probe wire is unplugged.
a. Use this feature to help you detect any possible probing issues before you start the probing sequence. When the workpiece is installed and ready for probing, make sure the end mill is not contacting the workpiece. The green LED light should be off at this point. If it’s on, the workpiece may be shorted to the table.
b. To check if your workpiece is getting voltage, you can short the part to the table by using a metal Allen wrench. Touch raw metal on the workpiece with one end of a wrench, then touch the endmill or table with another part of the wrench, so that the wrench is touching both the workpiece and the table or spindle at the same time. The green LED light should turn on when the part is shorted. Remove the wrench and make sure the green LED turns off. Then proceed to probing.
Comments
1 comment
My experience indicate used of hard anodized 80 percent lowers in the GG3 is unlikely to be successful. I have removed considerable material from the probing points using combination of sandpaper, file, and deemed tools without being able to get the GG3 to acceptably probe. I have not tried cerakoted 80 percent lowers, but have decided to only use raw 80 percent lowers supplied by GG.
Please sign in to leave a comment.