
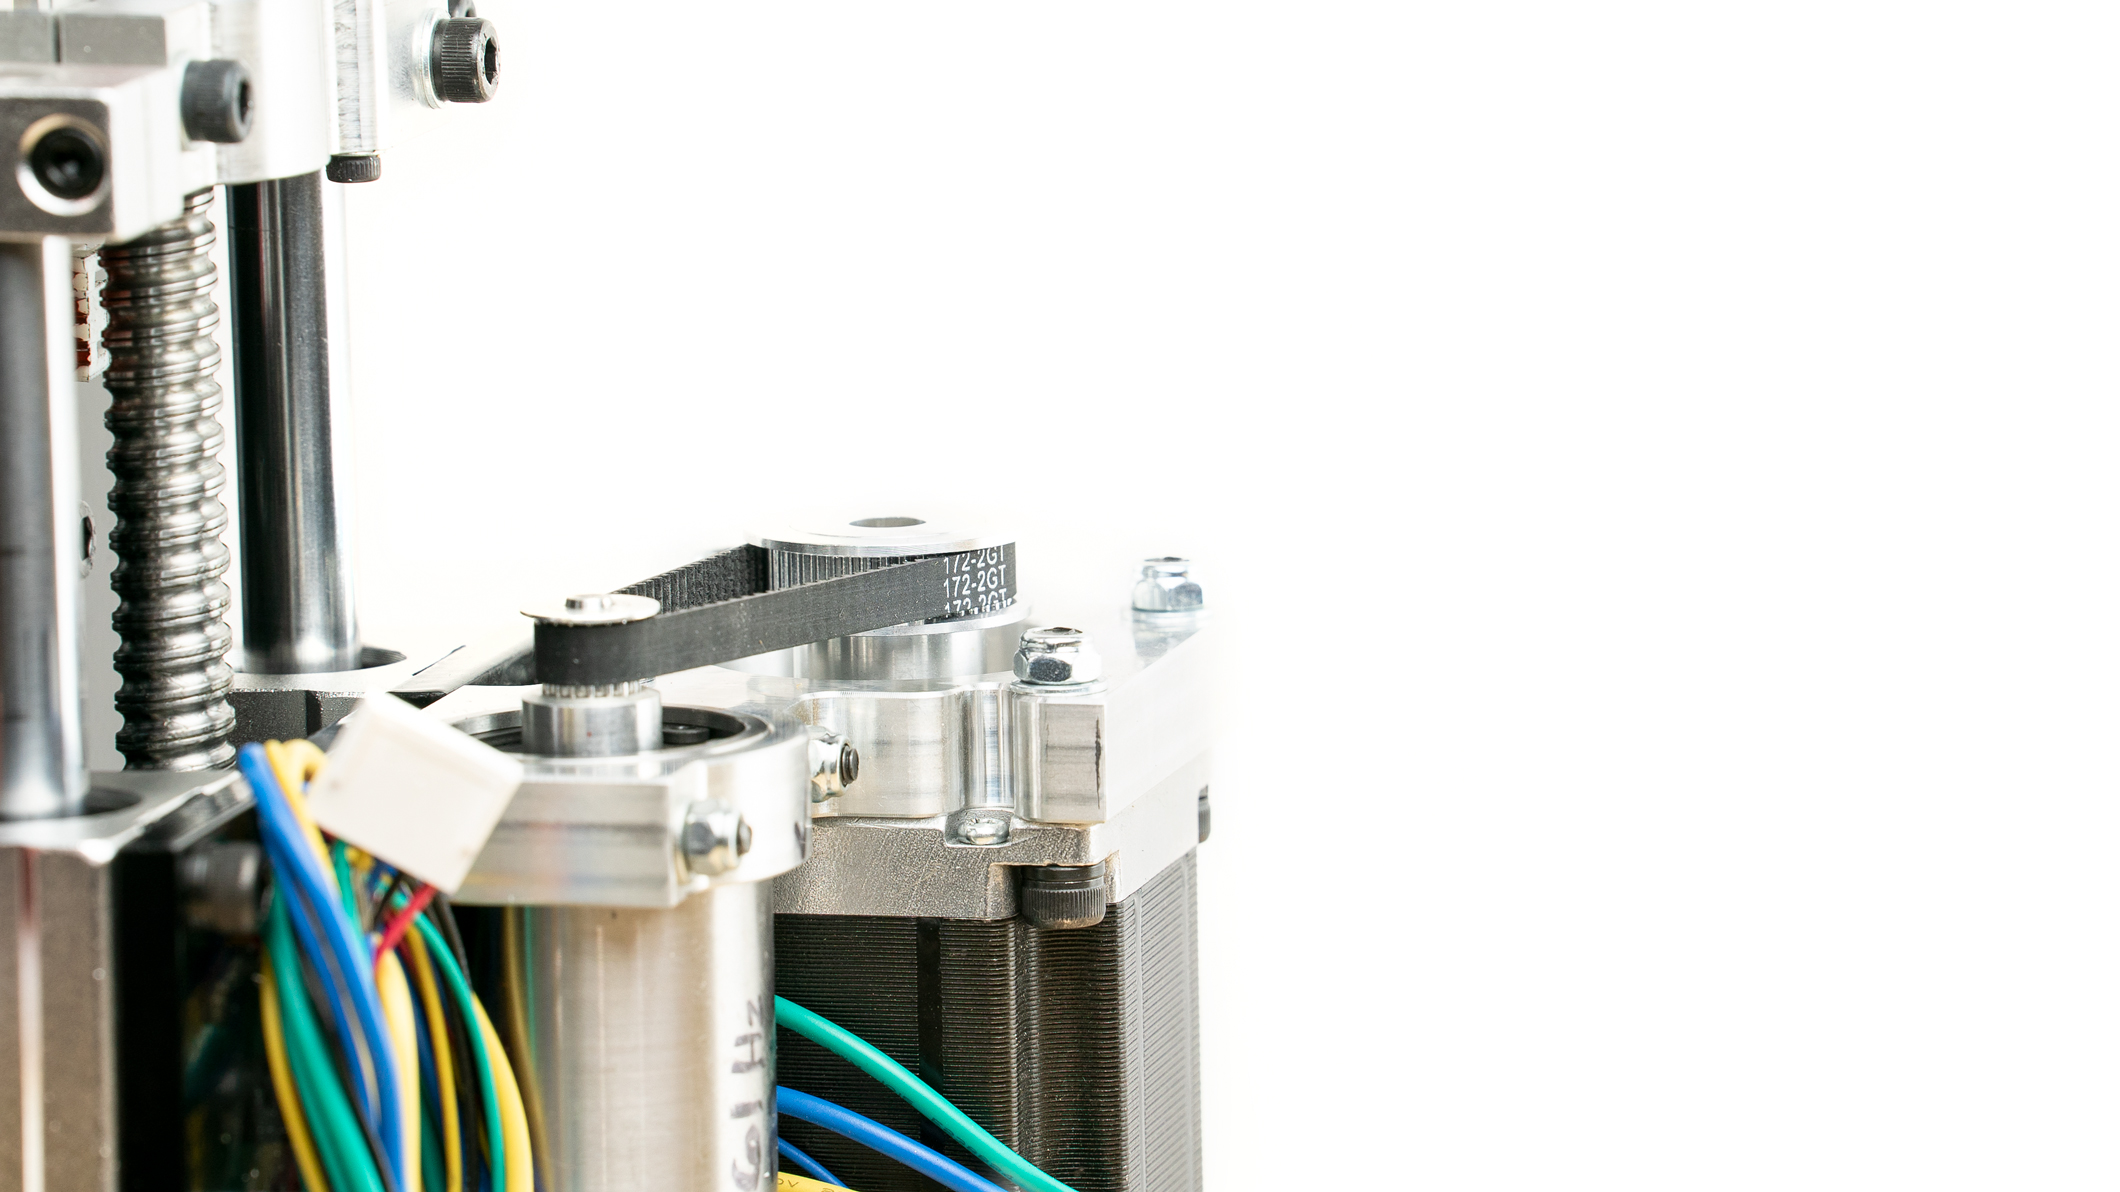
V2 Spindle Timing Pulley Replacement
Check if the timing pulley on the back of the spindle rotates freely while holding the front of the spindle with a wrench. The set screw that anchors the pulley to the spindle may be loose. The following image shows the location of the spindle pulley set screw.
If the spindle pulley appears loose or rotates independently from the spindle, use the following instructions to replace the spindle pulley.
Note | Order a spindle timing pulley and drive belt using the following link.
You'll need:
- 2.5mm allen
- 1.5mm allen
- 4mm allen
- 8mm socket
1. Remove the Ghost Gunner's rear panel. Use a 2.5mm allen tool to remove the 7 bolts.
2. Move the gantry center-rear by turning the y and z stepper motor couplings.
3. Loosen the 4 nuts on the BLDC motor using an 8mm socket and a 4mm allen tool.
4. There are slots in the motor mount that allow the motor to slide closer to the spindle for belt installation. A few turns should be sufficient to loosen the bolts so the BLDC motor can slide closer to the spindle.
5. Work the belt off of the motor pulley while turning it.
6. Loosen set screws on the spindle pulley using a 1.5mm allen tool.
Caution | Carefully remove the spindle pulley.
7. Loosen the set screws in the new pulley and slide it all the way onto the back of the spindle.
8. Apply loc-tite to set screw holes and use a 1.5mm allen tool to carefully yet firmly tighten pulley set screws.
9. Push the motor towards the spindle, connect the belt to the spindle pulley and work the belt onto the motor pulley.
10. Use a wrench to push the motor away from the spindle to achieve adequate belt tension and tighten down the 4 motor mount bolts and reattach rear panel.

11. The below image depicts the method used to leverage the BLDC motor away from the spindle while tightening the first motor mounting bolt.
Comments
0 comments
Please sign in to leave a comment.