
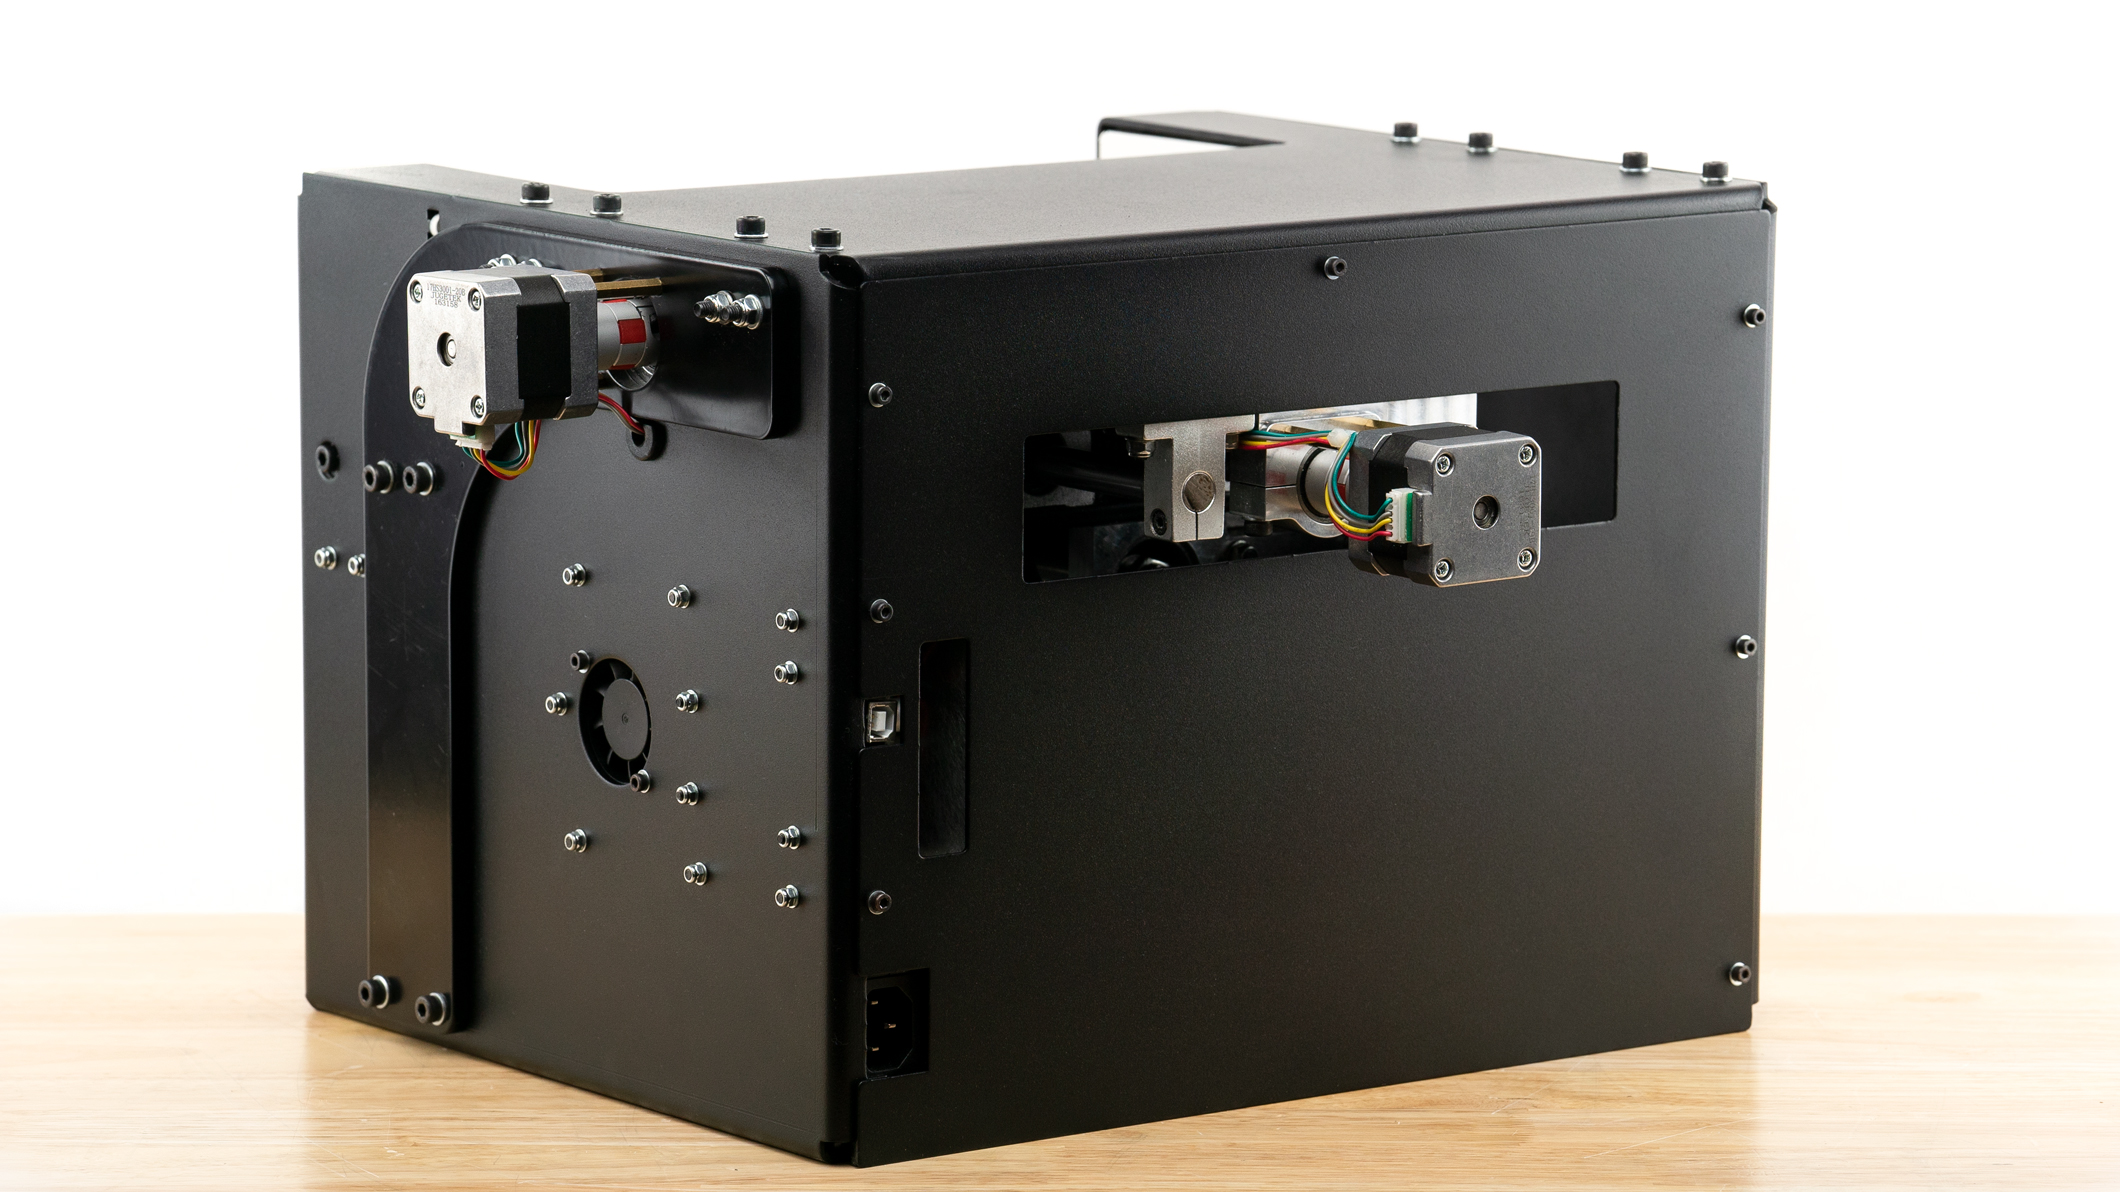
Replacing Z Stepper Motor
Order a new z axis stepper motor with standoffs and bolts. https://ghostgunner.net/product/z-stepper-motor/
1. Remove the Ghost Gunner's rear panel. Use a 2.5mm allen to remove 7 bolts.
2. Turn your Ghost Gunner upside-down and center the Y/Z gantry.
3. Cut the zip tie holding the stepper wire to the brass standoff and unplug the stepper wire.
4. Loosen the M3 bolt on the coupling closest to the stepper motor.
5. Remove the 3 M5 bolts on the Z stepper mount and remove the mount from the gantry.
6. Remove the 3 M3x35 bolts connecting the Z stepper mount to the brass standoffs.
7. Attach the new stepper motor to the Z stepper mount.
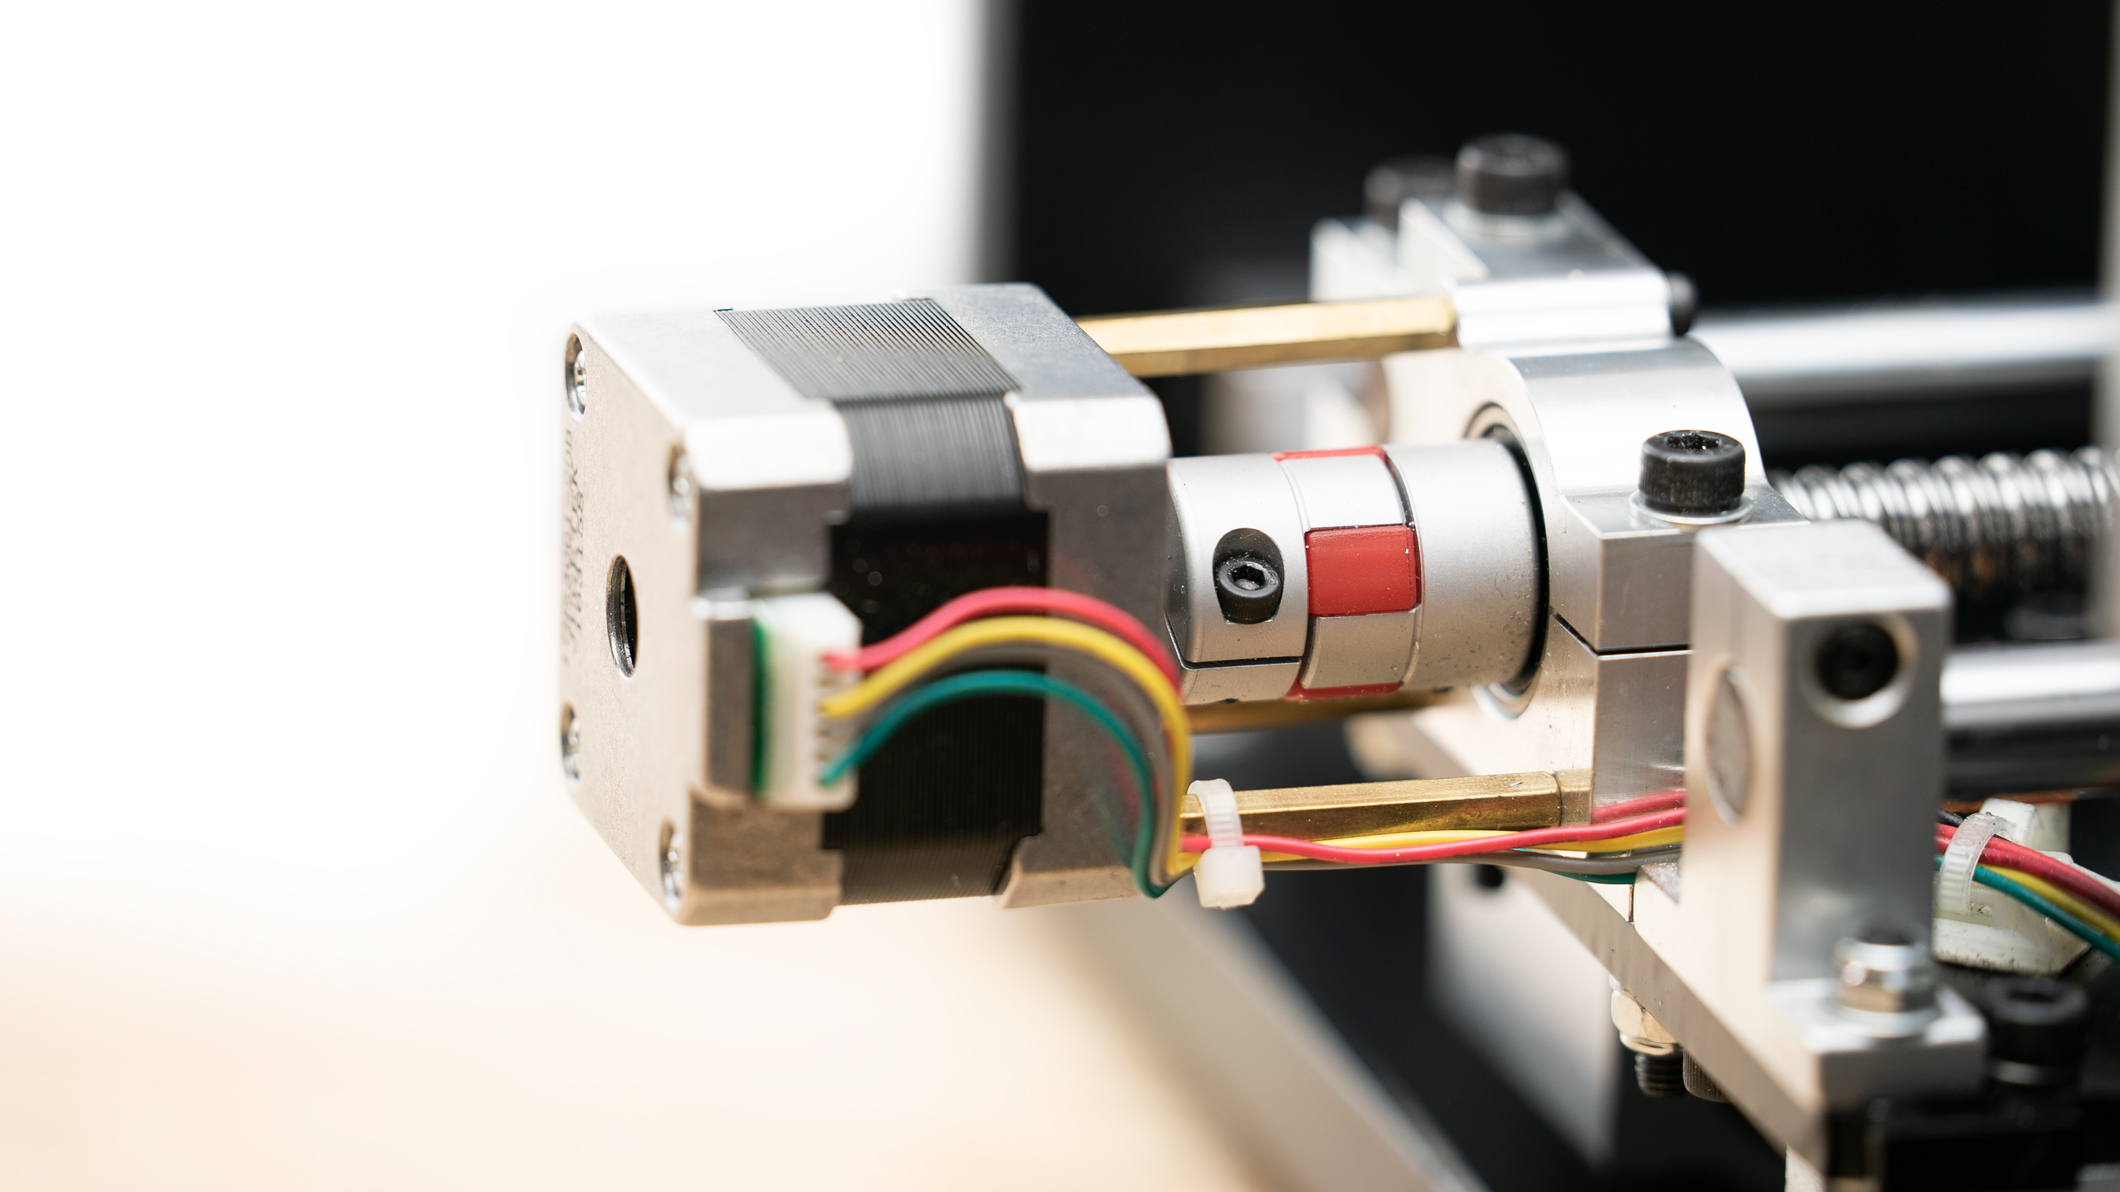
Note | The motor will be installed as shown in the following image so be sure to attach the standoffs to the correct orientation. With the wiring connector facing right, there should not be a standoff in the top right corner of the stepper motor.
8. Reattach the Z stepper motor and mount back to the Y/Z gantry.
9. Insert and tighten the left and center M5 bolts on the z stepper mount.
10. Insert and torque the right most bolt on the Z stepper mount to 25in/lbs.
11. Tighten the M3 bolt on the coupling closest to the stepper.
12. Plug in stepper wire and zip tie the wire to the brass standoff.
13. Attach the back plate (3 M3x8's).
Comments
0 comments
Please sign in to leave a comment.